Photo Mosaics
Warning: I wrote this blog in 2011. That is a long time ago, especially on the internet. My opinions may have changed since then. Technological progress may have made this information completely obsolete. Proceed with caution.
Over the holidays, my wife and the in-laws were working on a jigsaw puzzle which featured an image from Winnie The Pooh, which was made up of hundreds of tiny animation cells from Winnie The Pooh cartoons. The puzzle was super tedious, but it did inspire me. I realized it would be a fun programming exercise to try to write a program to generate one of these mosaic images. So that’s what I did that evening, staying up till about four in the morning.
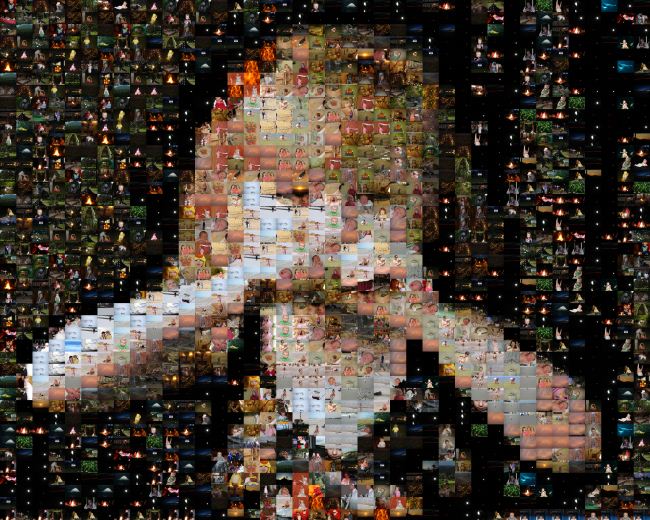
Here is the original image I’ll be working with in this example:

To start with, I take a library of images and reduce them all to 12x9 pixels. This takes a while, so this library is cached. I then use these simplified images to determine which image to use for each tile in the mosaic.
In my first try, I picked the best match possible for each tile. Unfortunately, this results in a lot of duplication, which doesn’t actually look that great.
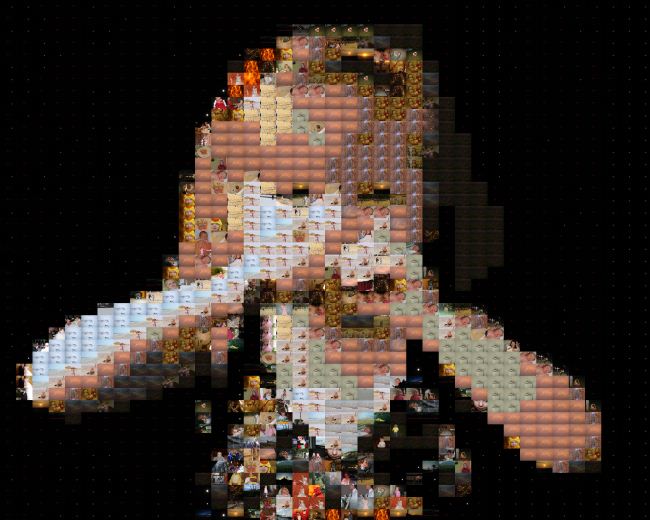
So, my next attempt was to prevent any image from being used twice. Unfortunately, you need lots of suitable images for this to work; my library of photos wasn’t sufficient. Additionally, because I was processing tiles column-by-column, from left to right, the mosaic generally was truest to the original image on the left, and furthest from the image on the right.
My next idea was to allow an image to be reused, but to limit reuse. So I implemented a system where an image receives a “penalty” each time it is used. The next time I check to see how suitable that image is for a given tile, I add the penalty to that tile’s score. This has the effect of allowing other similar images to be substituted. But after other similar images also have the same penalty, the original image will be selected again. And it will get another penalty. This produces a better image, but it still has the problem of the image getting worse as you go from left to right.
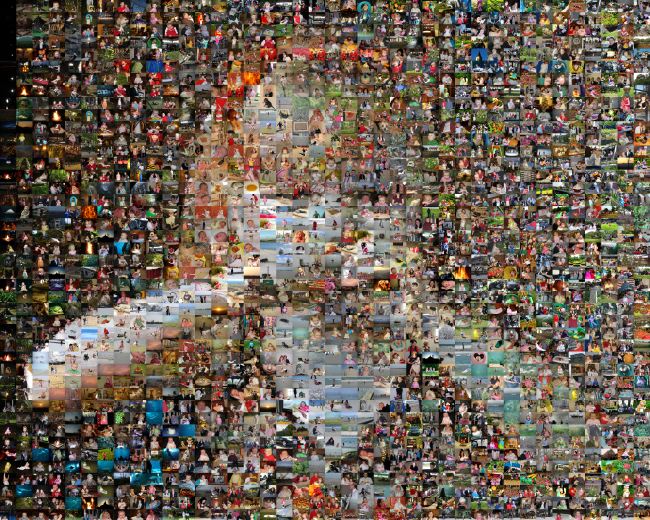
So, I next decided I would fill in the tiles in a random order. This gives better results:
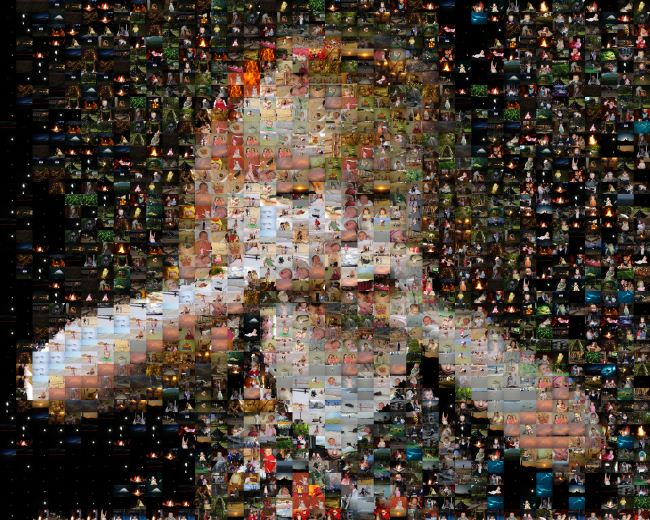
Next, I had the idea that instead of filling them in randomly, I should fill in the tiles with the most detail first. (For those curious, I calculate the level of detail in a tile by computing the average RGB color of each pixel in the tile. Then I take the standard deviation of the “distance” of each pixel’s color from the mean color in the RGB color space. So the most detailed image would be one that is half black and half white. And the least detailed would be one that is one solid color. This isn’t perfect: a tile that is a black and white checkerboard pattern is more detailed than one that is half white and half black, split evenly down the middle. I suppose a better approach would be to do a frequency analysis, and find the areas of highest frequency changes. Similar to the way JPEG compression works. But I thought that was too much work for what I was trying to do.)
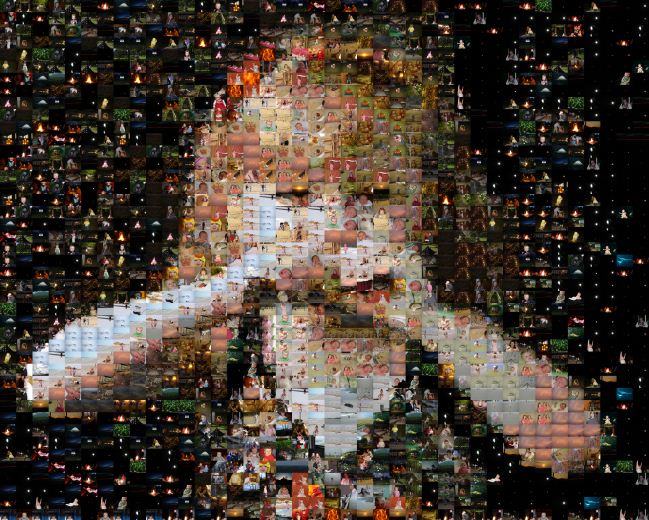
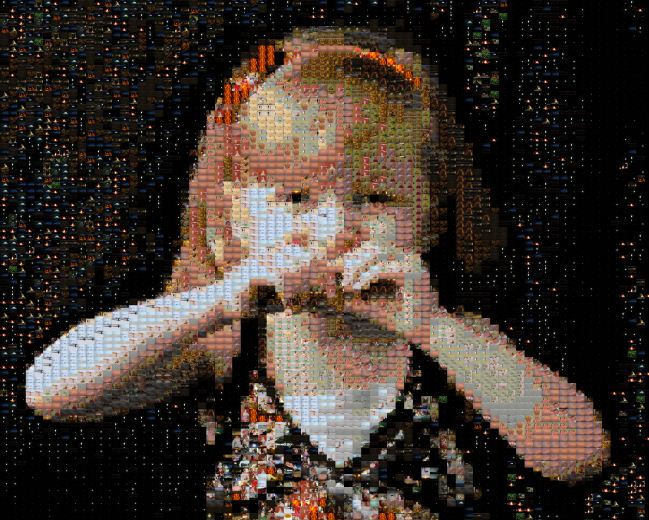
So now we have something that I’m pretty pleased with. The next step was just to up the resolution. The image below has 4560 individual tiles:
I’m not releasing the program right now because the code is way too bad. It is very sloppy, nothing is parameterized. (I adjust the parameters right now by editing the code and running from within Eclipse.) Plus, I’m sure there are programs out there already that do the same thing better. If you’re really interested, you can email me. If there’s enough interest, I can try to make the code presentable. But I don’t have any plans for that now.